Scenario
In this lab, you will create a publisher and a solution.
This lab will take approximately 10 minutes to complete.
Exercise 1 - Create publisher and solution
In this exercise, you will access the Power Apps maker portal, the Developer environment and create a new solution.
Task 1.1 – Maker portal
In a new tab, navigate to the Power Apps Maker portal
https://make.powerapps.comand sign in with your Microsoft 365 credentials if prompted again.If you are prompted for a Phone number enter
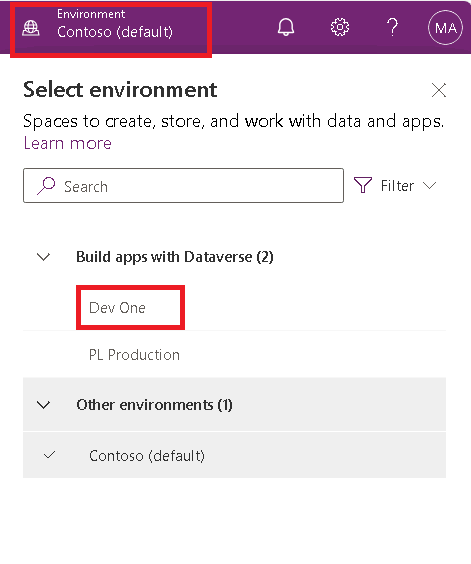
0123456789and select Submit.Switch environments by using the Environment Selector in the upper right corner of the screen.
Select the Dev One environment from the list.
Select Apps from the left navigation pane and then select All. You should see several apps including, Power Platform Environment Settings, Solution Health Hub, and Power Pages Management listed.
Select Tables from the left navigation pane. You should see the standard tables from the Common Data Model including Account and Contact.
Task 1.2 – Create solution and publisher
Select Solutions from the left navigation pane. You should see several solutions including the Default Solution and the Common Data Services Default Solution.
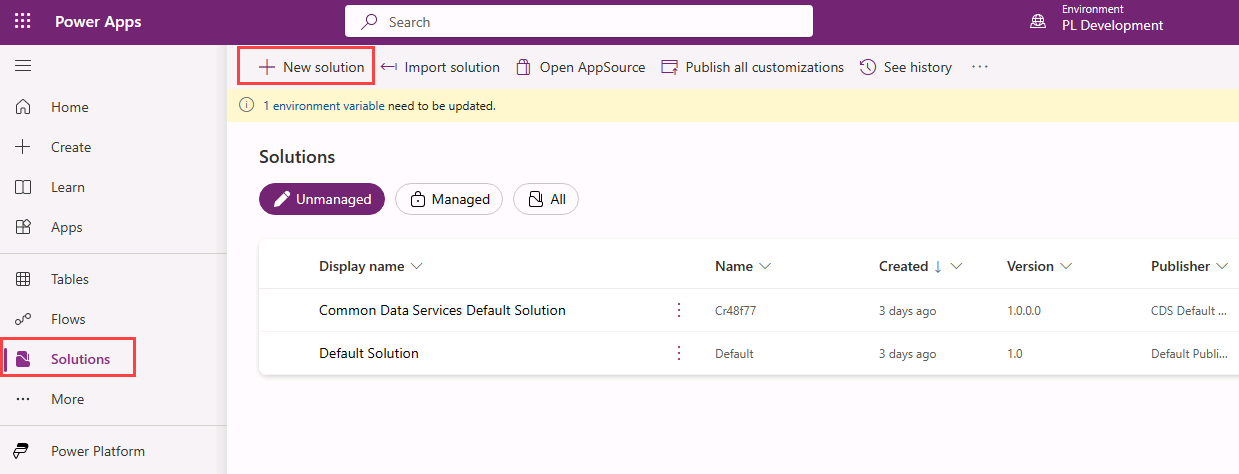
Select + New solution.
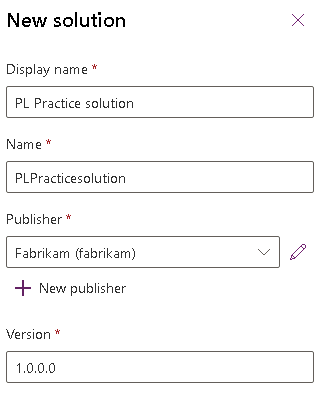
In the Display name text box, enter
[my initials] Practice solutionVerify that Name is automatically populated.
Select + New publisher below the Publisher drop-down.
For Display name, enter
FabrikamFor Name, enter
fabrikamFor Prefix, enter
fab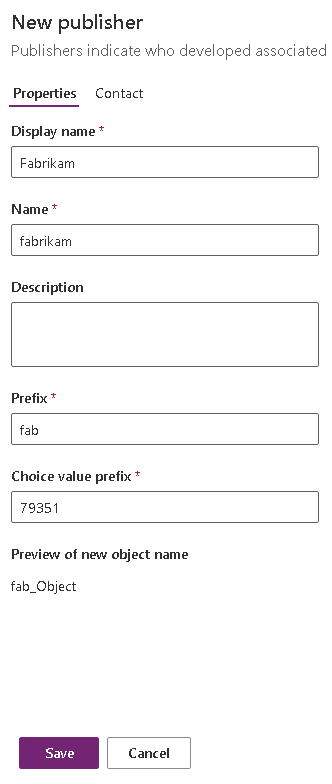
Select Save.
In the Publisher drop-down, select Fabrikam (fabrikam).
Select Create.
Exercise 2 - Add components to the solution
In this exercise, you will add an existing table to the solution.
Task 2.1 – Add table
Navigate to the Power Apps Maker portal
https://make.powerapps.comMake sure you are in the Dev One environment.
Select Solutions.
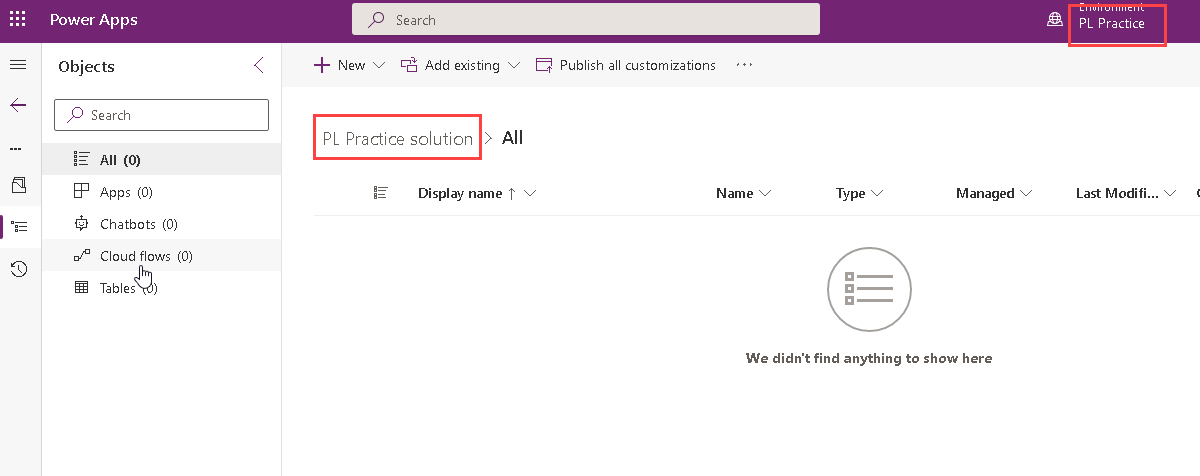
Select the Practice solution, from the previous exercise.
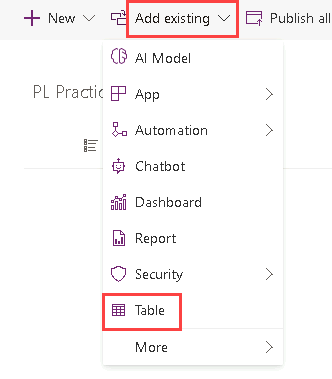
Select Add existing and choose Table.
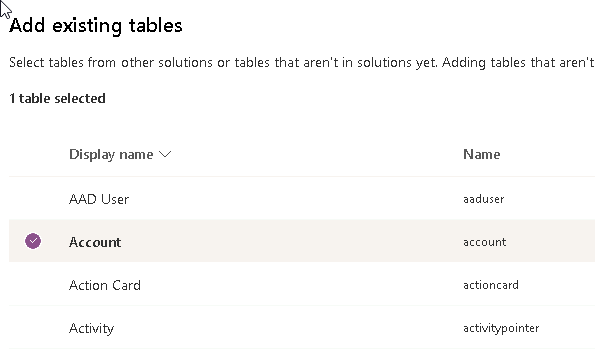
Select the Account table.
Select Next.
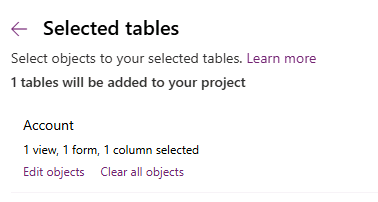
Under the Account table, select the Edit objects link.
In the Columns tab, select the Account Number column.
Select the Views tab.
Select the Active Accounts view.
Select the Forms tab.
Select the Account form.
Select Add.
Note: You should have selected 1 view, 1 form, and 1 column for the Account table.
Select Add.